
First, we pressed the plasticine into a rectangular shape as footings.

Next, we used the blade cutter to cut the edges
of the plasticine, make it well-shaped and have sharp edges. We provided 2 holes at
the left side and 2 holes at the right side of the footings plasticine.

Then, we rolled the A4 paper into cylindrical shape to become reinforcement
for the 4 columns.
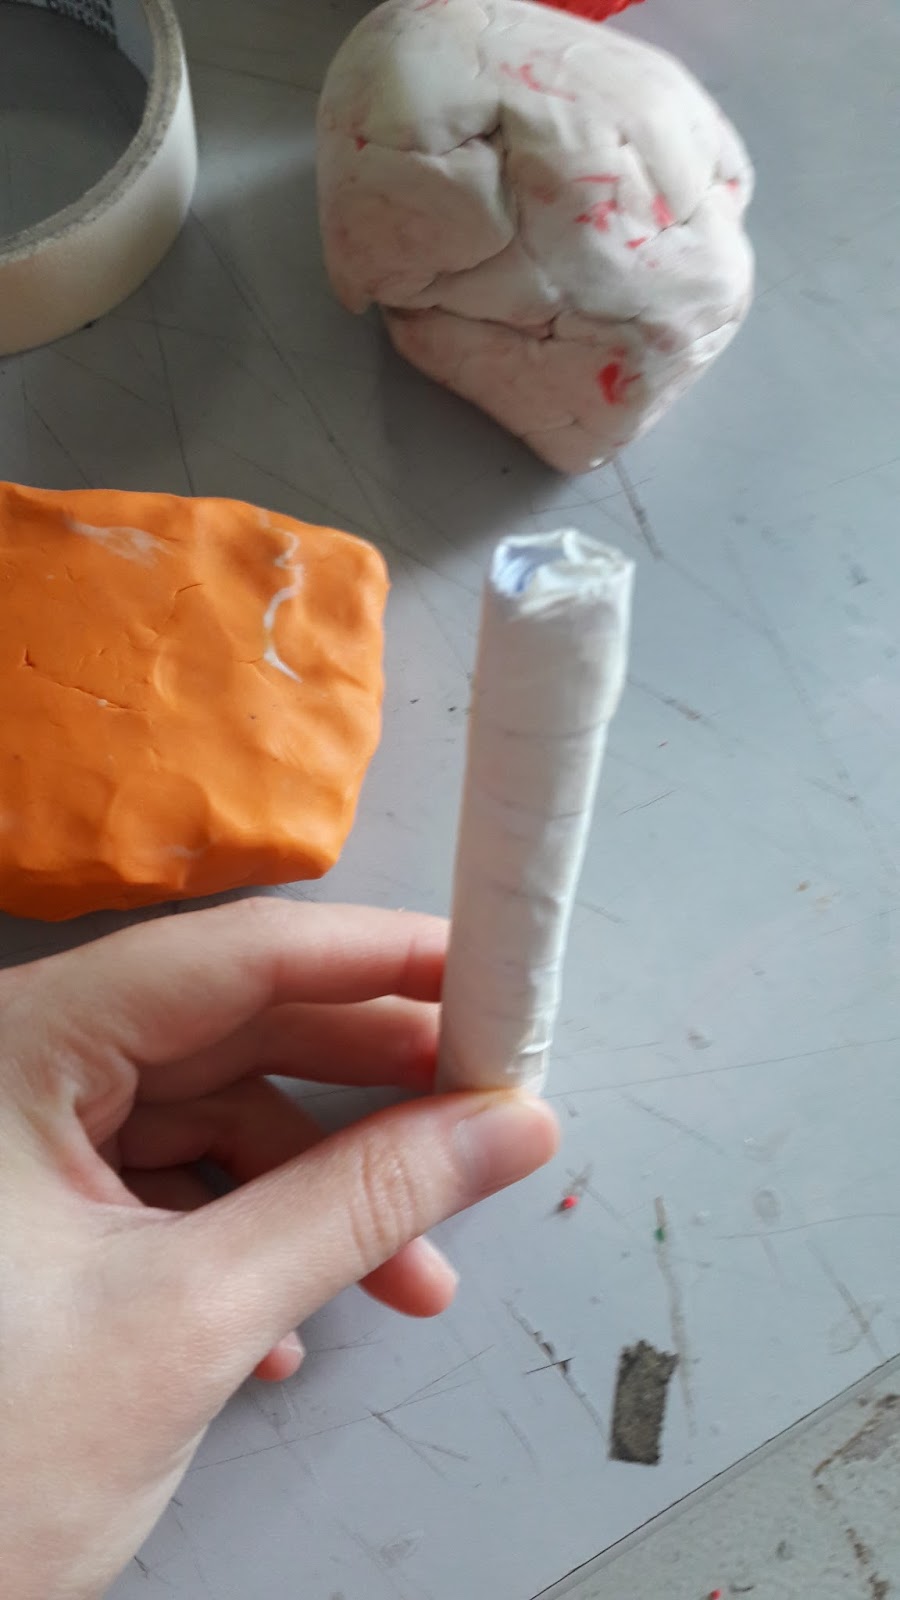
The columns were also wrapped with masking tape so that they are well-attached.

There after, we folded the columns into ‘L’ shape
and attached them into the 4 holes at the left and right side of the footings.

As it was not stable enough, we added 2
reinforced concrete at the 2 sides of the footings with red plasticine.

Later, we rolled the A4 paper for the beam. We
folded it into a rectangular shape to fit the 4 columns.

We used masking tape to connect the ends of rectangular shape beam.

Then, we attached the beam around the 4 columns.

We added more white plasticine around the beam
and 4 columns become stronger and harder.

Last but not least, we pressed the white
plasticine into rectangular shape to act as the slab. We attached the slab onto
the top of the beam.

This is how our group’s skeletal structure of a
building looks like.
I’ve learnt about how a building being
constructed with reinforcement and the ascending order of the construction.
Thanks to Ms.Sharon for giving me a chance on learning how to construct a
building using plasticine and understanding the details of the construction.


0 comments:
Post a Comment